Make Wood Look Like Marble: Faux Finish Steps

How do you make wood look like marble?
To make wood look like marble, you’ll create a smooth, non-porous base, then build a layered paint finish that mimics natural stone veining, and finally seal it for depth and durability. The most convincing results come from patient layering—marble isn’t a single color, but a mix of soft “clouds,” translucent shifts, and crisp (yet imperfect) veins.
1) Prep the surface for a stone-smooth finish
Marble highlights every bump, so start by removing hardware and sanding the wood flat. Fill dents and seams with wood filler, let it cure, and sand again. If you’re working with porous or textured wood, apply a high-build primer and lightly sand between coats until the surface feels uniformly smooth to the touch.
2) Lay down the base color
Choose a base that matches the marble style you want: warm white for Carrara, bright white for Calacatta, or charcoal for Nero Marquina. Apply two thin coats of paint (latex or acrylic), letting each coat dry fully. Thin coats reduce brush marks and help the finish look more like stone than paint.
3) Create depth with soft color variation
Mix a slightly darker and a slightly warmer/cooler version of your base color. Use a damp sea sponge or soft cloth to dab irregular patches across the surface, then feather the edges so nothing looks like a hard “stamp.” This step creates the cloudy undertones that make faux marble feel dimensional.
4) Add veins (less is more)
For veining, use a small artist brush or a feather. Pull thin, broken lines diagonally, varying pressure so the vein fades in and out. Immediately soften parts of each vein by lightly pouncing with a clean, damp sponge. A few stronger “hero” veins plus many faint, fragmented ones looks more natural than a web of bold lines.
5) Seal for a polished, marble-like finish
Once completely dry, apply a clear topcoat. Satin can read like honed marble; gloss looks closer to polished stone. Use multiple thin coats for clarity and protection, sanding lightly between coats if the product allows.
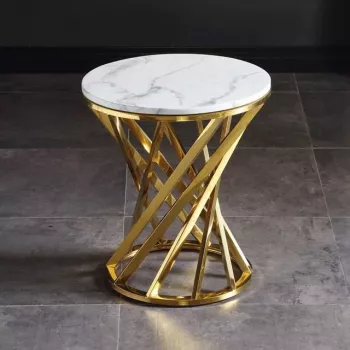
For a step-by-step walkthrough tailored to a tabletop project, see the full guide here: https://imperatia.com/guide-marble-look-mdf-coffee-table-stainless-steel-frame/.
FAQ
How do you seal faux marble paint on wood?
Use a clear polyurethane or water-based topcoat in satin or gloss, applied in thin, even layers. Let each coat cure fully before light sanding and re-coating for the clearest “stone” depth.









Leave a comment