Image-to-Caption AI: Turn Photos Into On-Brand Posts
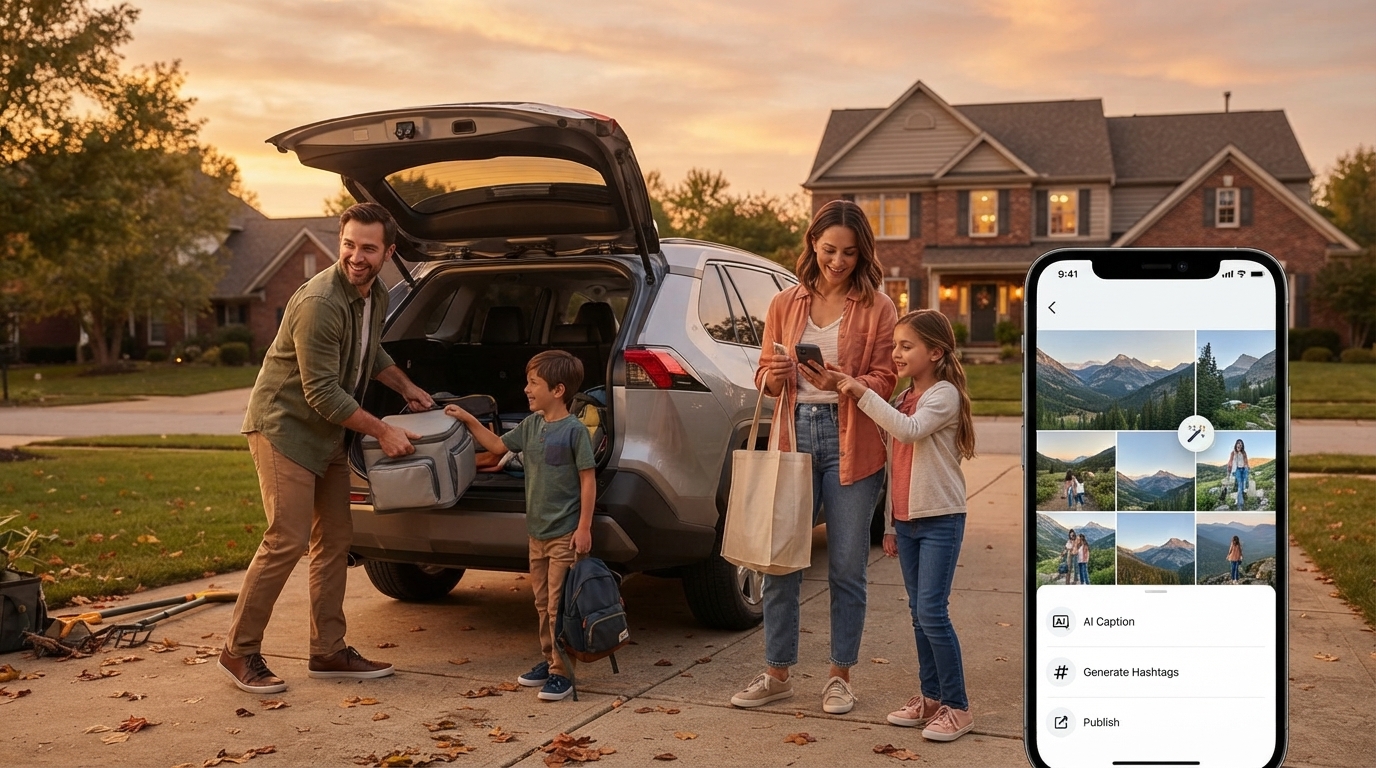
How can I use image-to-caption AI?
Image-to-caption AI turns what’s in your photo into ready-to-post text, saving time when you’re juggling product shots, lifestyle content, and last-minute promos. The best results come from pairing the AI’s “what’s happening” read of the image with a little direction about tone and goals.
1) Start with the right image
Choose a clear, well-lit photo where the main subject is obvious (a product in hand, a styled flat lay, an unboxing moment, or a customer using the item). Captions get stronger when the AI can easily identify the setting, the mood, and the focal point.
2) Add quick context before generating
Most tools let you include a short note alongside the image. Add essentials like: what the product is, who it’s for, the vibe (playful, luxe, practical), and what you want the reader to do (shop, save, comment, click). This keeps the caption aligned with your brand and avoids generic output.
3) Generate a few variations
Create 3–5 options and pick the best “skeleton.” Look for one that nails the opening line and matches the emotion of the photo (cozy, energetic, premium, minimal). If one version has a great hook and another has better details, combine them.
4) Personalize so it sounds like you
Edit for brand voice: swap in your usual phrases, adjust sentence length, and remove filler. Add one specific detail from the image (color, texture, location, or moment) to make the caption feel human and grounded.
5) Finish with structure: value + CTA
Keep it skimmable: one hook, one benefit, and a clear call-to-action. Then add hashtags (if you use them) and confirm any claims are accurate. For more ways to create Instagram captions that still sound like your brand, see this guide to AI Instagram captions.
FAQ
How do I make AI captions match my brand voice?
Give the tool a short tone reference (like “friendly and direct” or “minimal and premium”), then edit the output to include your typical phrasing, pacing, and one or two on-brand details from the photo.










Leave a comment