Choose Sport Gear Smarter: Fit, Safety, Value
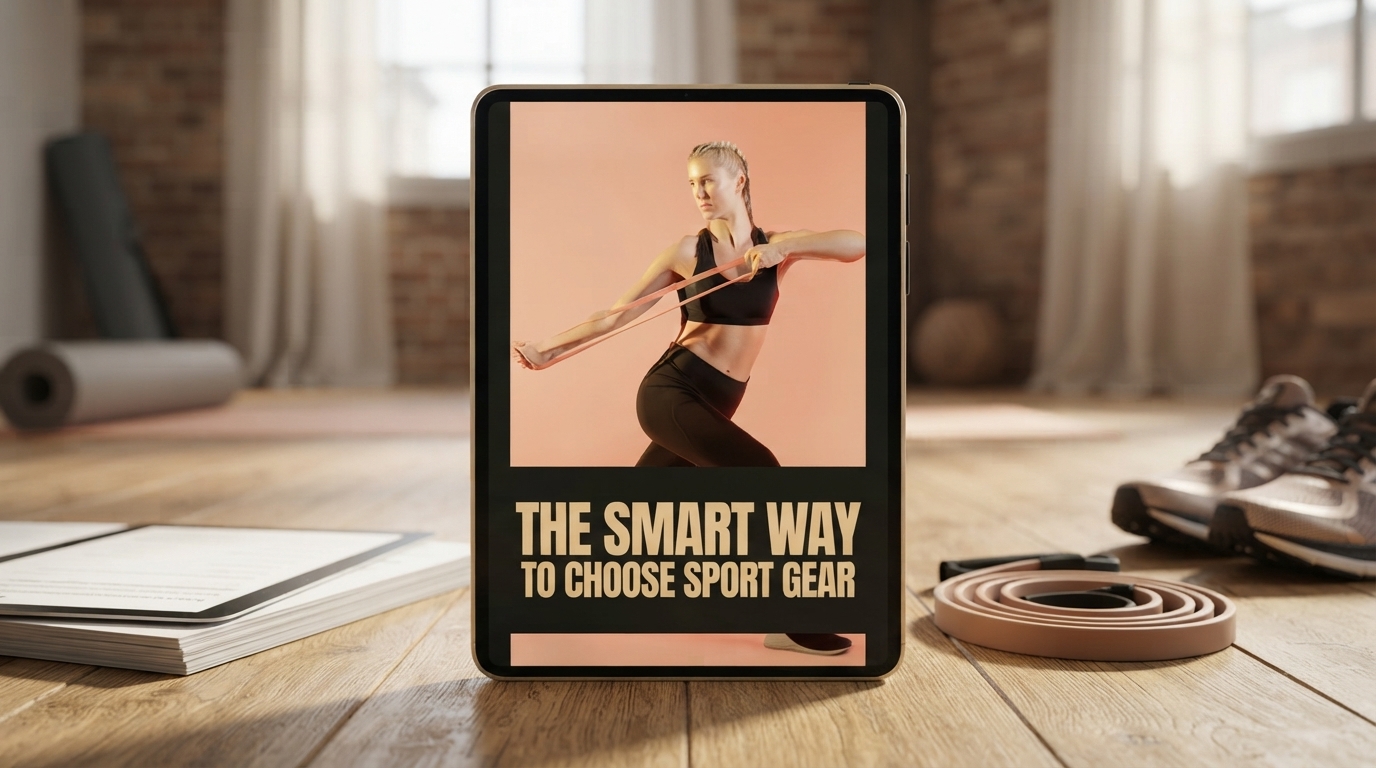
Buying sport gear can get expensive fast when purchases are driven by hype, unclear goals, or a “close enough” fit. A smarter approach starts with what you’re trying to do, where you’ll do it, how often you’ll train, and a short list of non-negotiables: fit, safety, and durability. The result is fewer wrong buys, lower total cost over time, and a setup that actually supports consistent training.
Start With the Outcome, Not the Product
Before comparing brands or features, define the outcome your gear must support. This keeps you from buying for every “maybe” and helps you invest where it counts.
- Pick the primary activity (running, strength training, cycling, hiking, team sports) and limit yourself to one or two secondary activities you’ll realistically do.
- Set constraints: home vs. gym vs. outdoors, climate and seasonality, available space, noise tolerance, and realistic session length.
- Choose a weekly frequency you can sustain. The more often you use something, the more comfort and durability matter.
- Write a short “success spec”: what your gear must enable (pain-free movement, safer lifting, consistent cardio, reliable recovery).
If your routine aligns with recommended activity levels from sources like the CDC and the American College of Sports Medicine (ACSM), you’ll get more value from every purchase because the gear gets used.
How to Choose: A Simple 5-Step Buying Framework
This framework reduces buyer’s remorse by forcing the right checks before checkout.
- Step 1 — Prioritize safety and fit: shoes, protective gear, and load-bearing items come before accessories.
- Step 2 — Identify the minimum effective kit: buy the smallest set that covers about 80% of your sessions.
- Step 3 — Verify compatibility: footwear-to-surface, bike part standards, weights-to-bar diameter, apparel-to-weather, and storage constraints.
- Step 4 — Compare total cost of ownership: price plus lifespan, maintenance, replacement parts, and return risk.
- Step 5 — Buy in phases: test the basics first, then upgrade the one bottleneck that most limits comfort or progress.
| Check | What to confirm | Quick test |
|---|---|---|
| Fit | Sizing, toe room, mobility, pressure points | Move through sport-specific range of motion for 2–3 minutes |
| Safety | Impact protection, stability, load rating | Confirm certifications/ratings and intended use |
| Durability | Materials, stitching, wear zones, warranty | Inspect stress points; look up common failure points |
| Compatibility | Standards, attachments, surfaces, storage | Measure key dimensions; confirm return policy |
| Value | Lifespan and replacements | Estimate cost per month of use based on frequency |
Build the Right Setup on a Budget (Without Buying Twice)
Budget-friendly doesn’t mean “cheapest.” It means spending where failure is costly and saving where differences are marginal.
- Use a tiered budget: essential (must-have), supportive (nice-to-have), optional (later).
- Spend more where failure is costly: footwear, helmets, protective pads, and core tools (a quality mat, stable bench, reliable bar/plates).
- Save where differences are marginal: many accessories, basic apparel layers, generic storage, and entry-level tools used for experimentation.
- Time purchases around needs, not sales. A discounted wrong item is still expensive if it sits unused or can’t be returned.
- Plan upgrade triggers: replace or upgrade when fit changes, pain appears, materials degrade, or progress is limited by one clear bottleneck.
One practical way to control spending is to decide what you’ll do for the next 30 days, buy only what supports that plan, then reassess. Consistency reveals what actually needs upgrading.
Fit and Sizing: The Hidden Multiplier for Comfort and Results
Fit is often the difference between gear that helps and gear that quietly creates friction—blisters, pinching, restricted movement, or instability that changes technique.
- Footwear: match the shoe type to your surface and gait needs; allow toe splay; avoid heel slip. Try sizing later in the day when feet are naturally larger.
- Strength training: prioritize stable soles for lifting. Belts and wraps should match torso/limb measurements and the loads you intend to use.
- Apparel: choose materials based on sweat rate and weather. Seams and compression should support movement, not fight it.
- Try-on protocol: don’t just stand still—do squats, lunges, hops, arm swings, and your sport’s key positions.
- Return policy is part of “value”: flexible returns reduce the cost of being wrong, especially for footwear and protective gear.
Quality Signals That Matter (and Marketing Signals That Don’t)
Quality isn’t about the most features; it’s about reliable performance for your use case.
If you’re building a routine aligned with widely accepted physical activity guidance (see NIH resources on activity and performance), durability quickly becomes a cost issue: frequent use exposes weak materials and poor construction.
Avoid Common Buying Traps
Sample Minimal Setups by Goal
| Goal | Minimum effective kit | First upgrade when consistent |
|---|---|---|
| Running/jogging | Proper shoes, moisture-wicking socks, weather layer | Visibility gear + hydration for longer runs |
| Strength at home | Bands, dumbbells, mat | Adjustable bench or heavier load option |
| Cycling | Helmet, basic tools, lights | Comfort touchpoints (shorts, gloves) + puncture protection |
| Hiking | Footwear, socks, daypack, water | Weather shell + trekking poles for longer/steeper routes |
FAQ
What should be bought first when starting a new sport?
Start with the items that determine fit and safety—most often footwear and any sport-specific protective gear. Then add the minimum tools needed to train consistently, and wait on accessories until the routine is stable.
How can gear be chosen to avoid wasting money on upgrades?
Buy a versatile baseline kit, train with it for 2–4 weeks, and identify the single biggest limitation (comfort, safety, progression, or convenience). Upgrade only that bottleneck, and use compatibility checks and return policies to avoid mismatches.
Is expensive gear always better for beginners?
No—pay more where failure is costly (fit, safety, and high-wear durability), but choose simple mid-tier options for experimentation until preferences and frequency are proven. The best “beginner” gear is the gear you’ll use consistently without discomfort.








Leave a comment